Creating a bullet journal style planner for students

Each year at this time parents and students turn their thoughts to images of back to school. While the images differ significantly the objectives are usually the same: do as well as possible with a minimum of pain and anguish. Keeping work organized and activities (or in the case of Harry Potter fans, mischief) managed can be s struggle worthy of any AP level course. Here is where I recommend a system originally derived from the Bullet Journal by Ryder Carroll.
Start by getting a notebook the student will use for the system. There is no specific requirement here but there are some guidelines I recommend:
- Smaller than a full size notebook
- At least 120 pages
Ruling, grids, paper type, and manufacture are completely up to your discretion and we recommend letting your student make the choice. Something they choose is more likely to be used than something they are handed.
The system begins with a variation on the traditional bullet journal layout. Rather than placing the Index at the beginning of the journal, it is placed in the middle (for reasons I will explain in a bit.) At the beginning of the journal start with a two-page weekly layout for each week of the school year.
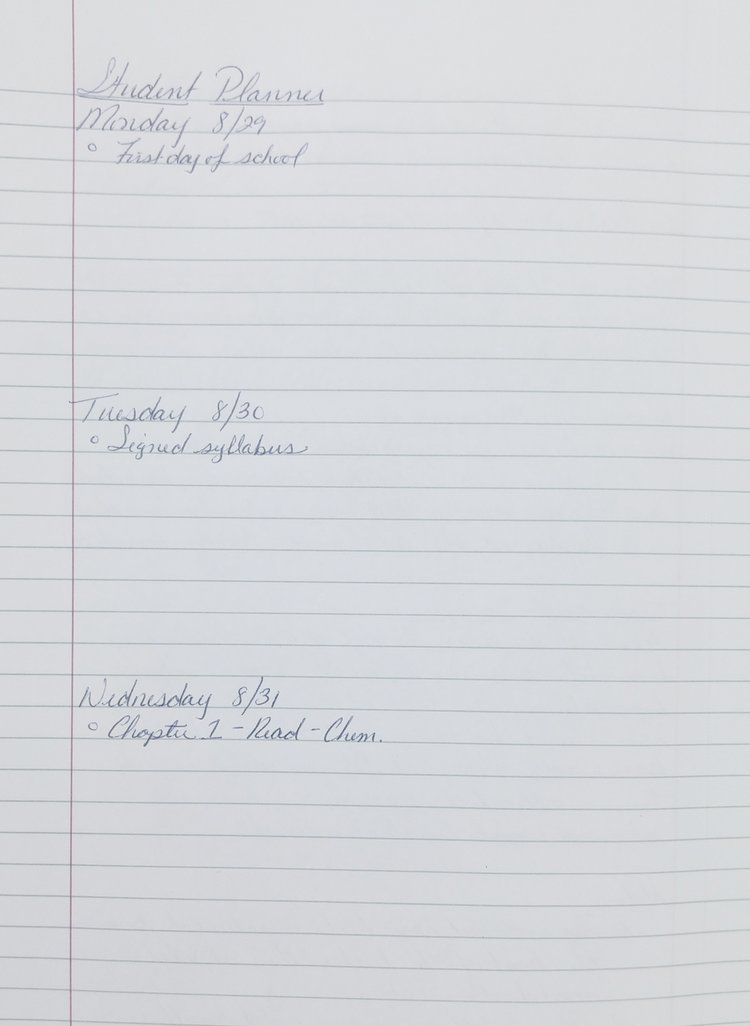
Since you’re likely dealing with 40-45 weeks, you’ll have that many open facing pages to set up. Keep things simple for now. You only need to make sure all the time is accounted for in the beginning. Make sure each week includes Saturday and Sunday since extra-curricular activities often spill over into the weekends. Once you have the basic weekly structure created, take a moment with your school calendar and note all the holidays and no-school days. It’s good information to have and at this point the year may seem a little overwhelming.
After you have completed the week planning, add four facing index pages in the middle of the book. This is where you will place the index to your collections, but in a manner different than the normal Bullet Journal index.
Now that your index is in place, create the collections section. Number each page in the collections section beginning with number 1.
Putting the system to work
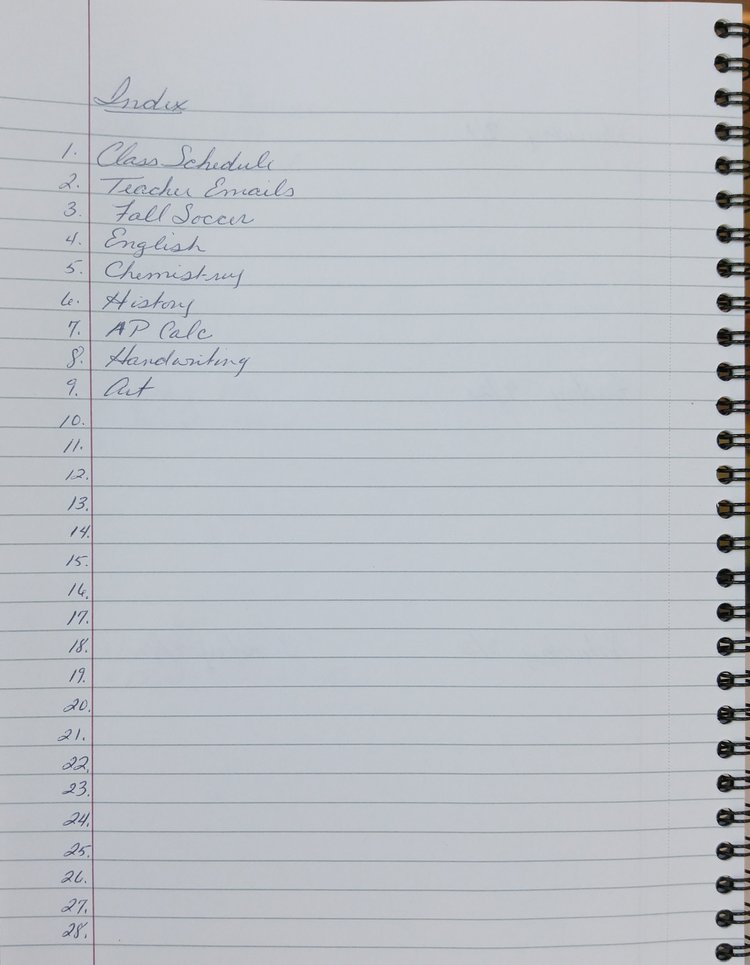
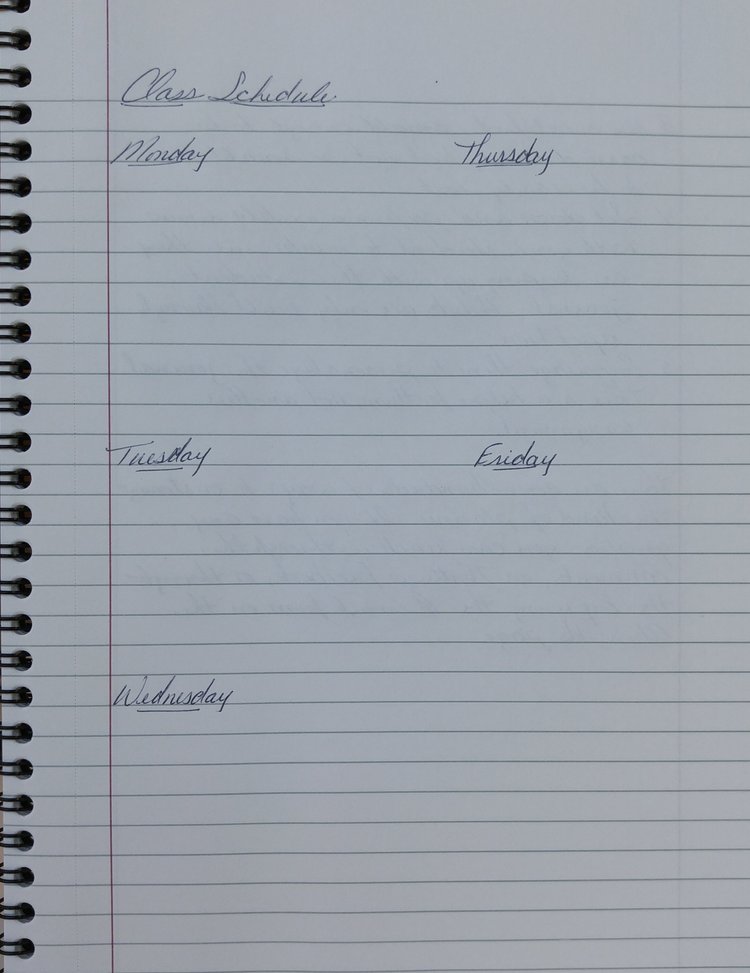
To put your system in motion first you need your starter set of collections. Using your Index to create a list, identify the most likely collections this way:
- Class Schedule
- Teacher emails and contact info
- Sport 1 (including coach contact info)
- Sport 2
- Class 1
- Class 2
- Class 3
- Class 4
- Class 5
- Class 6
- Class 7
- Class 8
- Extra-curricular 1
- Extra-curricular 2
You can see from the image below an example of how this might look for you:
The largest variance from the Bullet Journal is how do you handle when a collection is longer than one page? Normal methods require you to create a new index entry, but for students I recommend simplifying the structure and echoing the index in a book. For example:
6. AP Chem – 16, 18-19, 26, 32
Means the collection for AP Chemistry begins on page 6 and continues on page 16, then pages 18 and 19, page 26 and then page 32. To make this even more useful, we recommend adding an indicator at the bottom of a new collection page to show the collection page you came from and the next one you are going to in the sequence. So for this example page 16 would have:
6 <- -> 18
at the bottom to indicate you came from page 6 and continued on page 18. This is by no means required but we have found it helpful in locating content without having to jump back to the index all the time.
Homework Management
Homework can be captured in three main ways:
- Capture in a collection (not recommended without adjustments)
- Capture on the date due (not recommended)
- Capture on the date to do (recommended)
Tests and Quizzes
These require planning if your student is to avoid cramming before the exam. Start by capturing the test on the day it is scheduled to be taken and then work backwards to lay out the study schedule. Time is allocated in advance and not skipped until the last moment.
Additional Notes
- Pages do not have to be numbered from the front of the book. They should match the section for easier reference.
- If you fill one index, just start another and indicate the page number for the new index on the first one.
- Use a notebook small enough to be carried but not so small as to likely be lost or not hold the information needed.
- Sit down and perform a weekly review with your student. Habits are created through repetition. However resist the urge to check daily. Taking ownership and responsibility is as important a lesson as any in the classroom. Use the journal as a double check if there is a problem, but otherwise allow the student to work the system.
- Encourage your student to personalize the journal. This is a helper for them, not another assignment and they shouldn’t see it as such.
There are hundreds of ways to customize and adapt this method to a student’s particular needs. If you have any questions you can reach us through the comments, through Twitter or Facebook, email, or through the Contact form on the About Us page.